Success with Sumpod 3d Printer
I’ve never been so pleased to see a pink alligator!
Today I did exactly what I said I’d do in the previous blog post. First, I took apart the hot end of my Sumpod 3d printer to clean it. I’m not sure if Tracy approved but found a Brulee torch (like this one) made a perfect tool for cleaning the nozzle. I used it to burn off all the PLA from an earlier leak. I kept at it until the smoke stopped. Although the smell wasn’t as nice as burning sugar, then end result was almost as satisfying as a Creme Brulee. I definitely recommend this to others who’ve got a dirty nozzle.
Next, I put everything back together with a fresh piece of PTFE tube (from ebay). This presented a small problem as my hot end has a very slight misalignment between the PEEK/insulator and the nozzle. (This is probably why I initially failed to insert the PTFE fully and thus caused a leak.) I’d got around this last time I reassembled the hot end by shaving a very tiny amount of the tube with a pencil sharpener. This seemed to work but didn’t lead to a successful print so I thought I’d try something else this time.
So, I threaded the push fitting, the MDF holder, and the PEEK onto the PTFE tube. Then I pushed the PTFE into the nozzle making sure it went in completely. I then screwed the nozzle and PEEK together - this way the PTFE is pushed in really tight. Finally (with some care to push the fitting down) I screwed the PEEK and push fitting together. This seemed to work better than any of my previous attempts where I screwed everything together first and pushed the tube in last. It seems a more reliable procedure to ensure success than the obvious/natural (?) way I’d been doing it before.
I said that I was planning to clean the filament as it entered the extruder. I did this but it was rather half-hearted effort and I don’t think it made much difference.
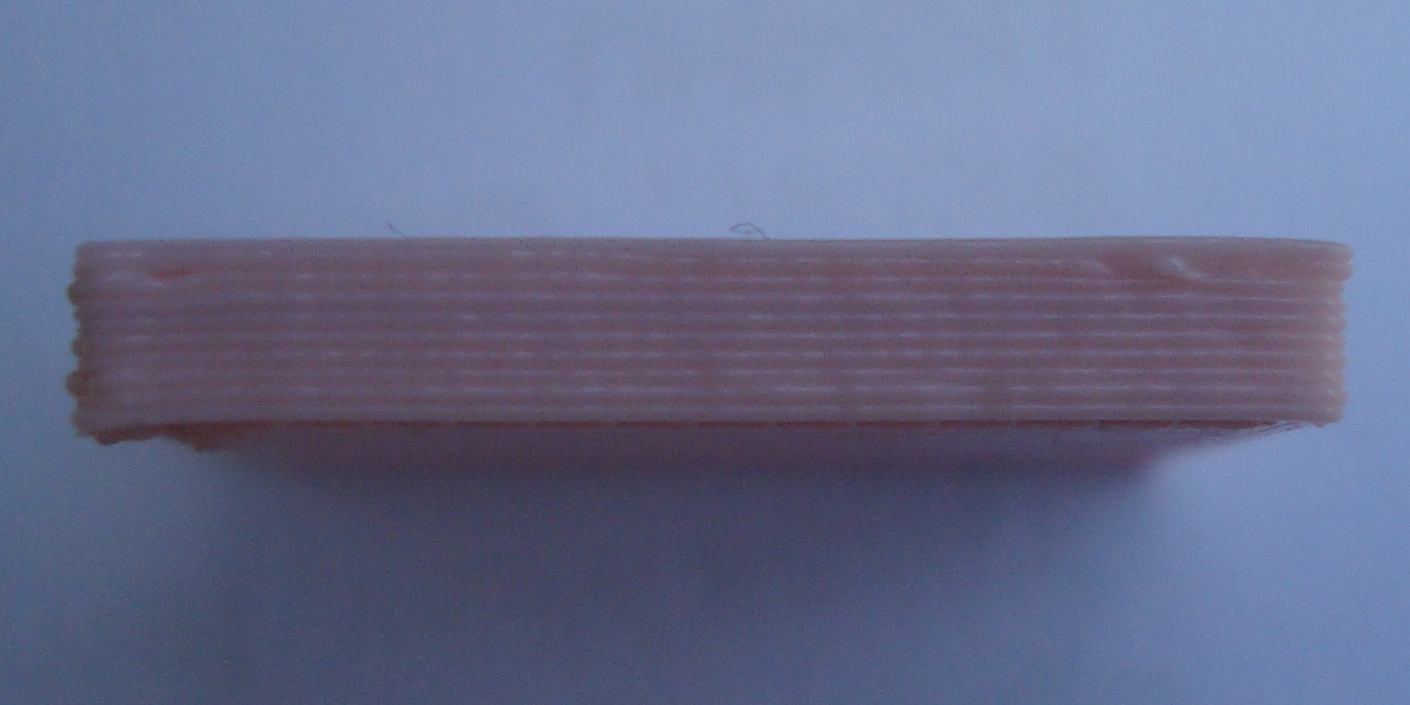
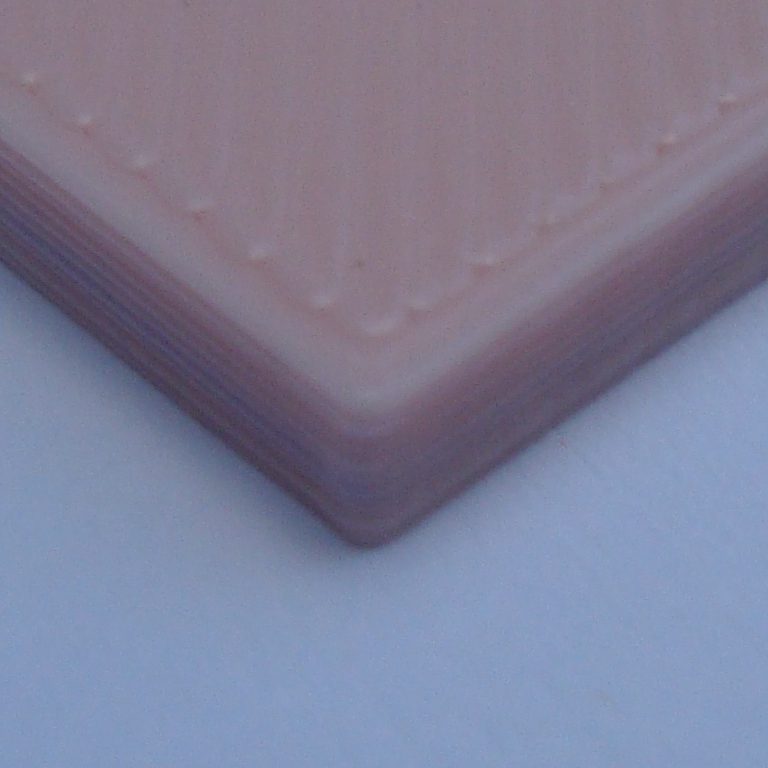
I printed the same 20mm x 20mm x 3mm block with solid in-fill that I tried yesterday and it came out much better:
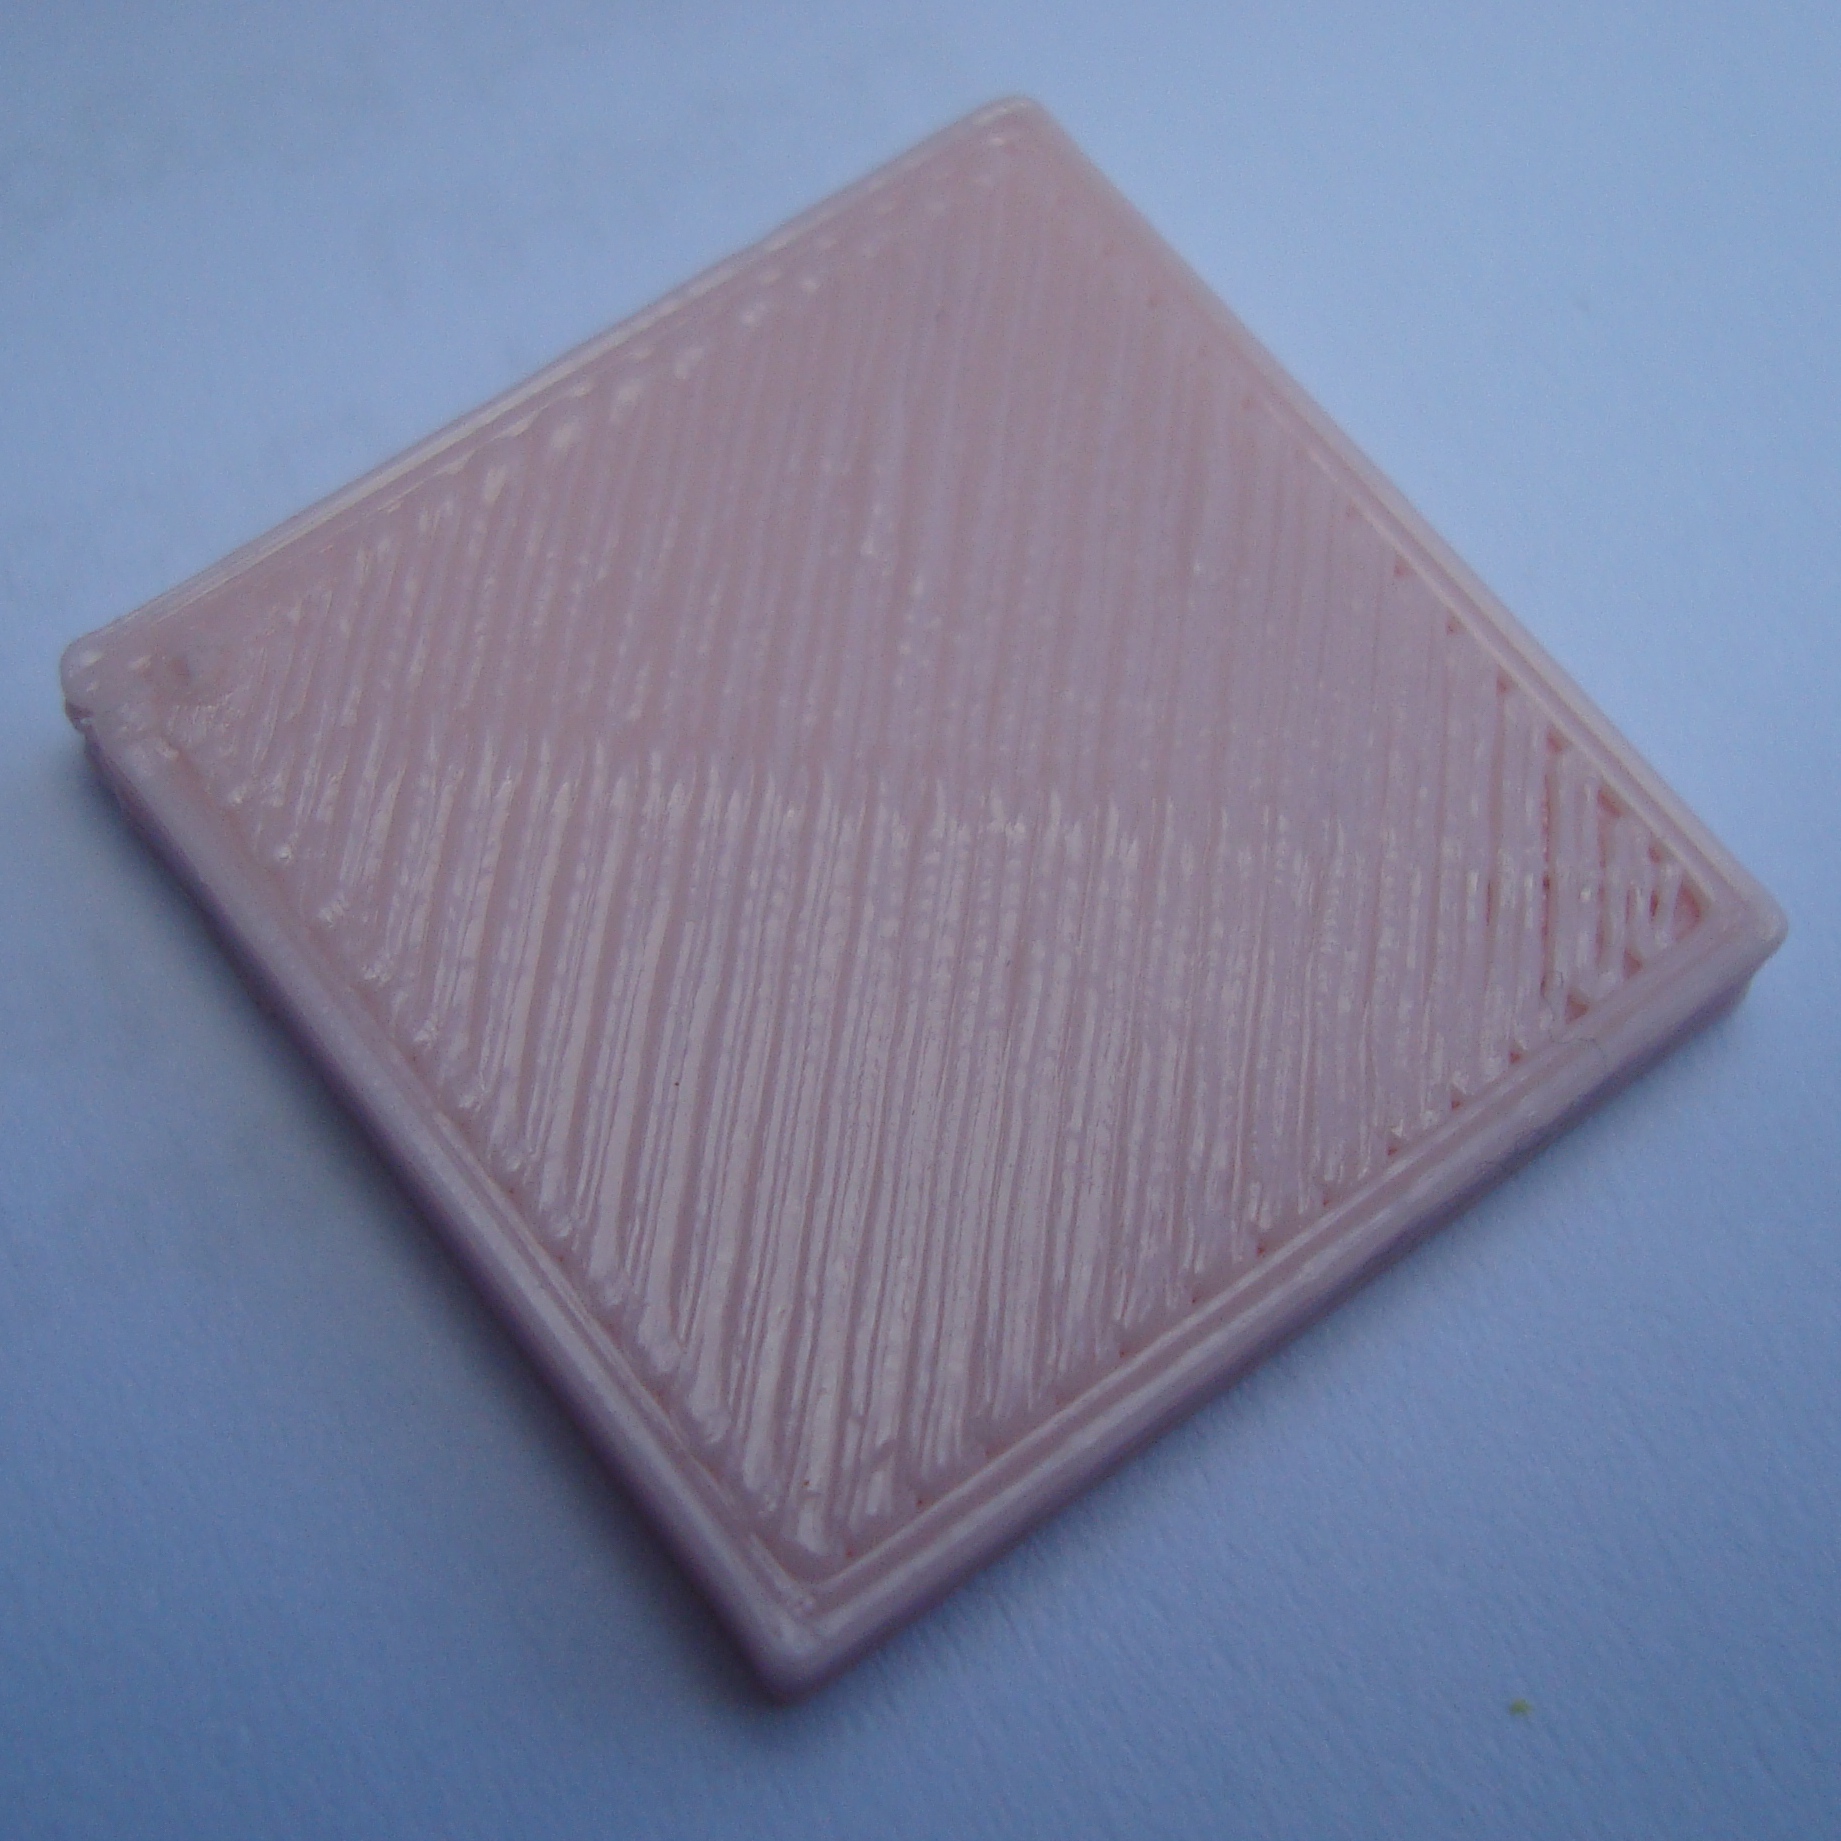
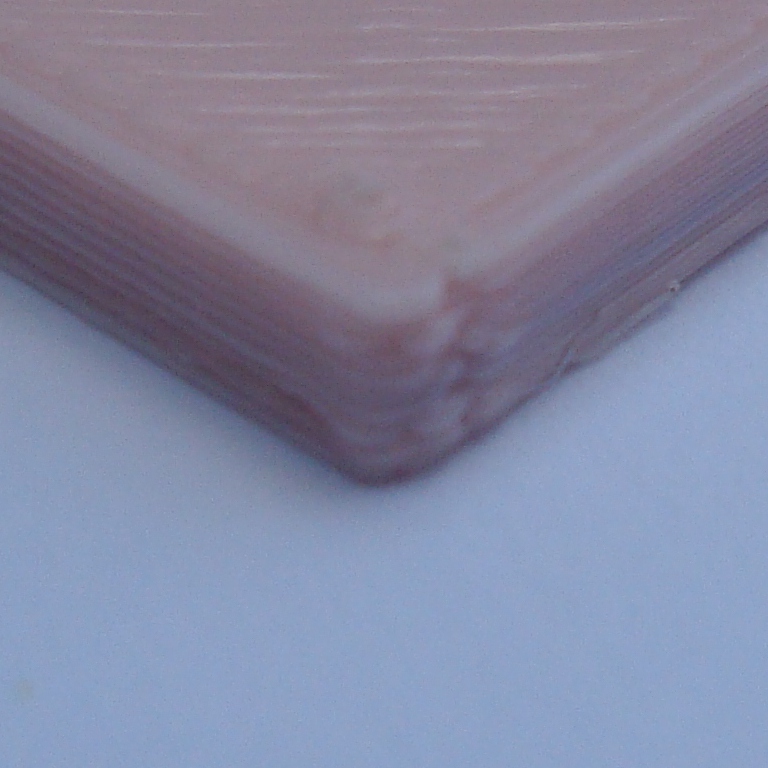
One corner is slightly less neat than the rest - the corner where the layers start:
This was quite a short print less than 30 minutes, but I was optimistic enough that I’d beaten the jamming problems that I called Richard Sum to thank him for this help and let him know I’d made good progress.
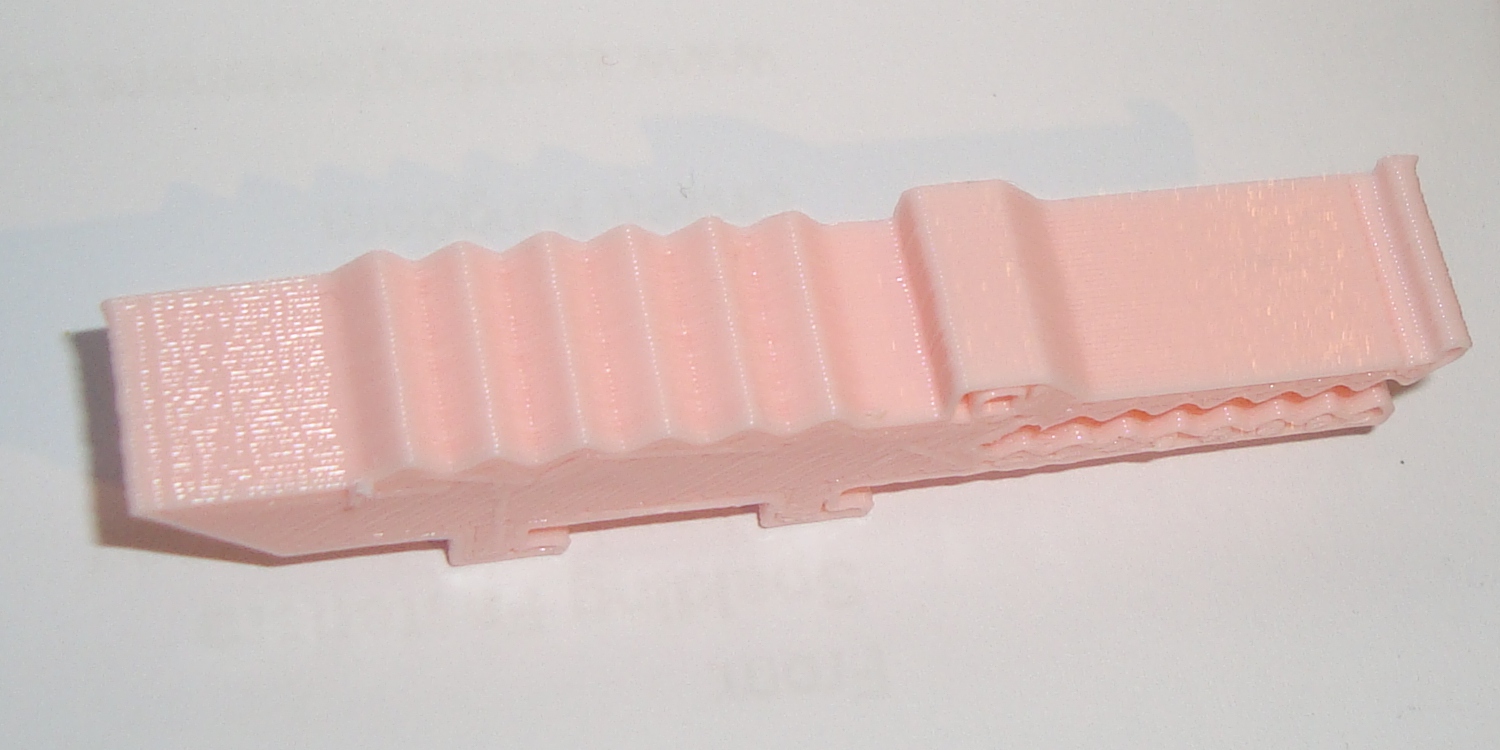
This evening I tried a more complicated (and more useful) print. This time I used the default skeinforge hexagonal in-fill and the print took a bit less than an hour. I watched very nervously as it took shape:
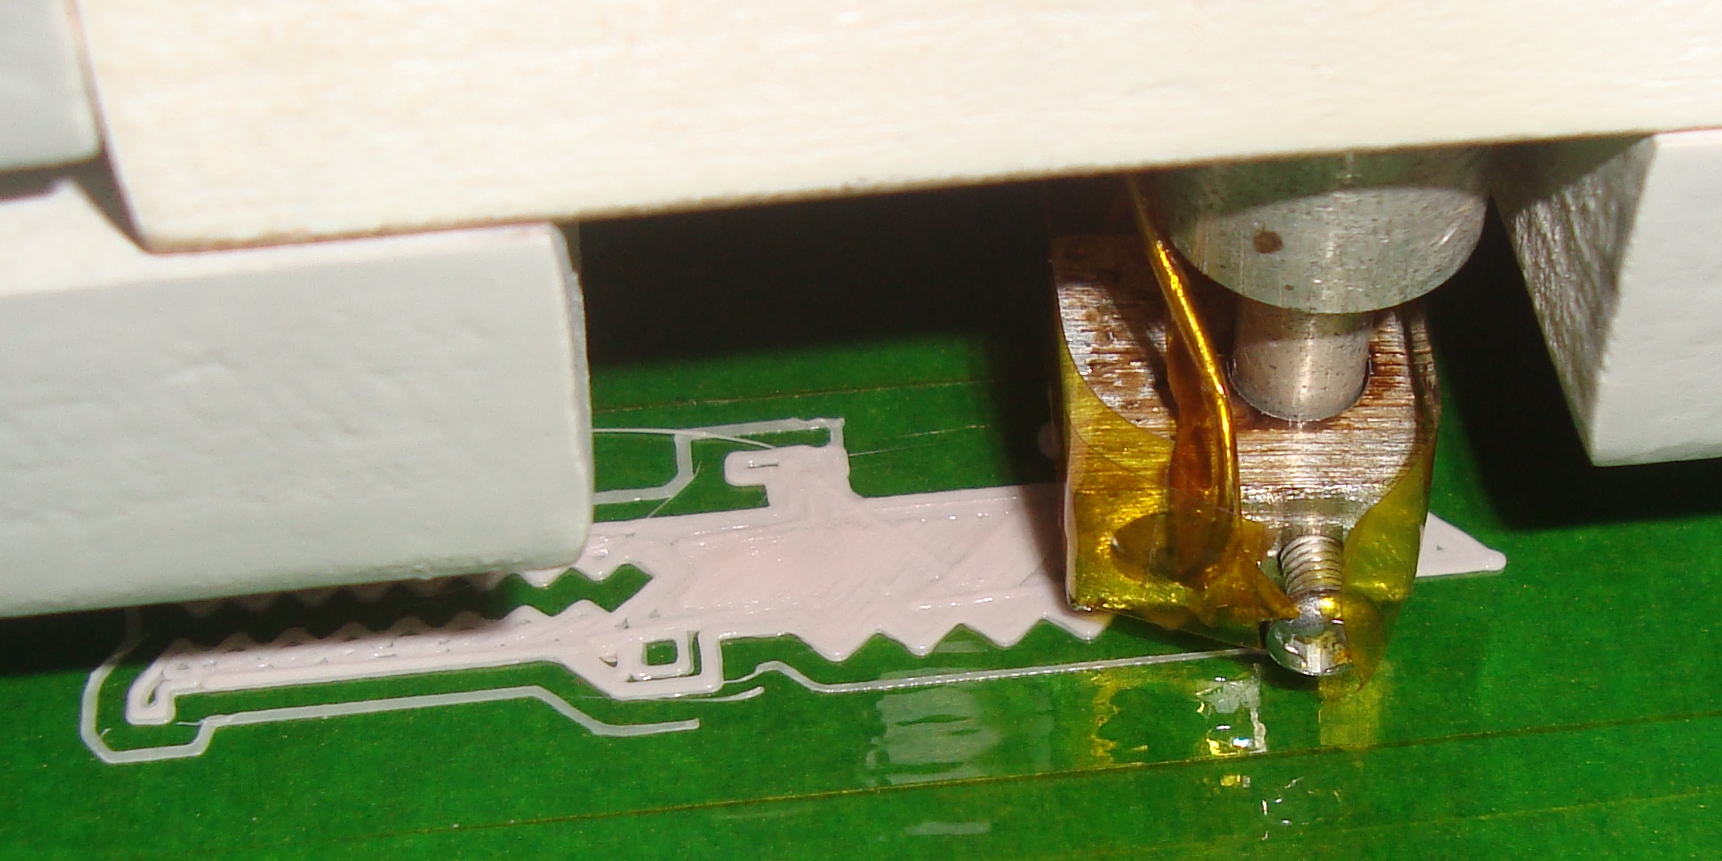
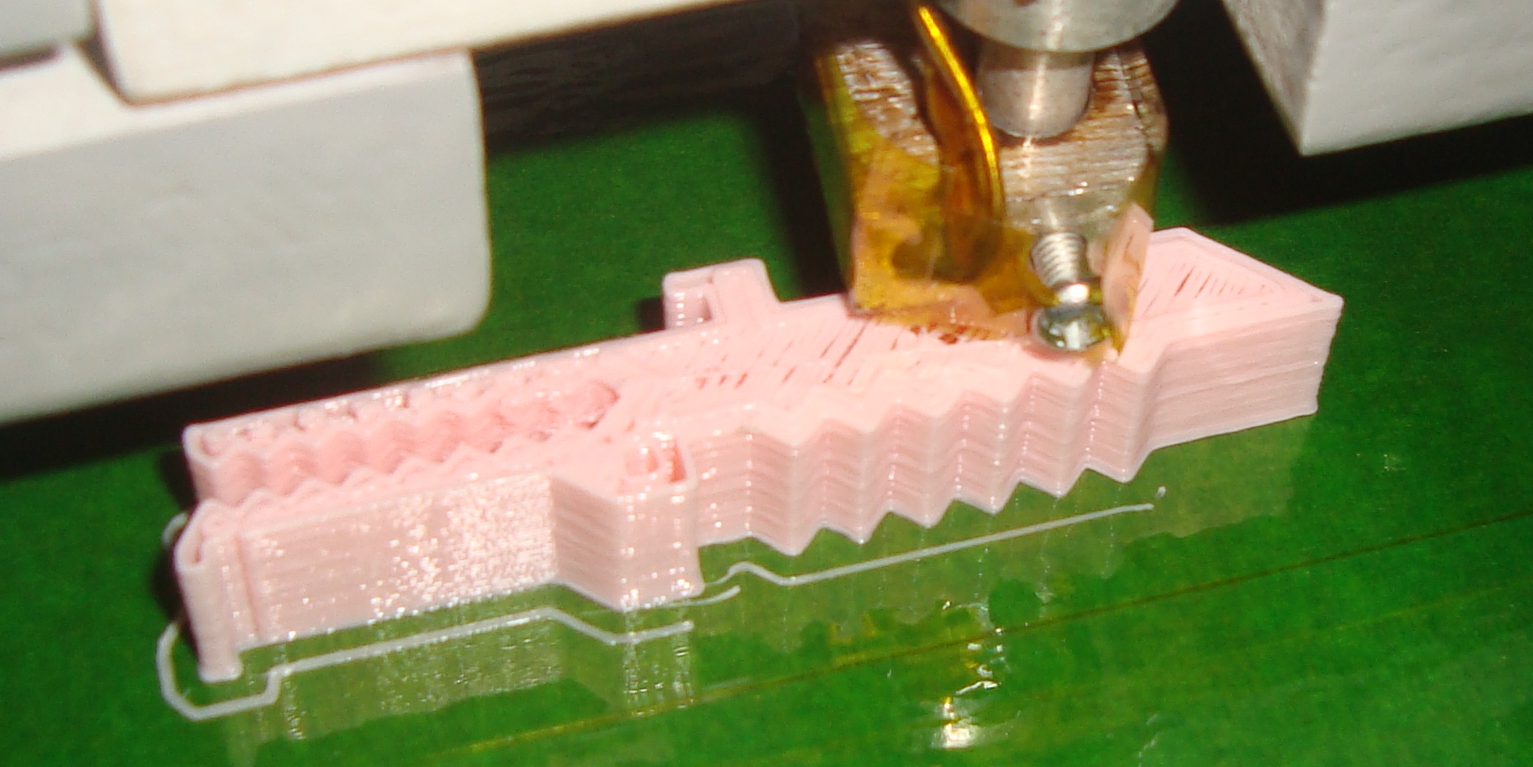
I was very relieved when it finished (especially as the pink filament was close to running out):
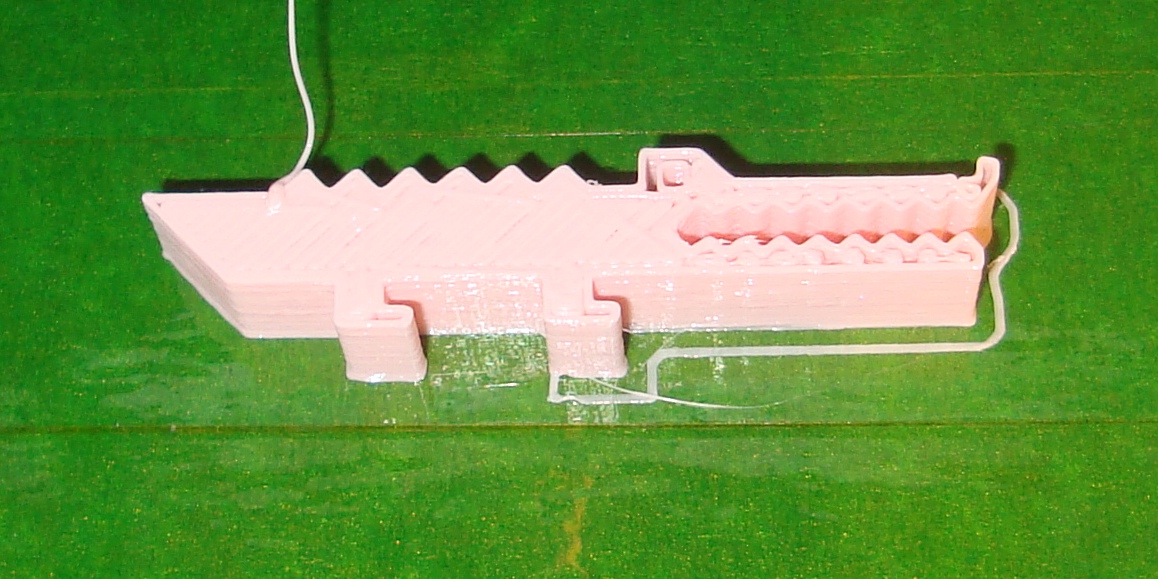
and I’m pleased with the result:
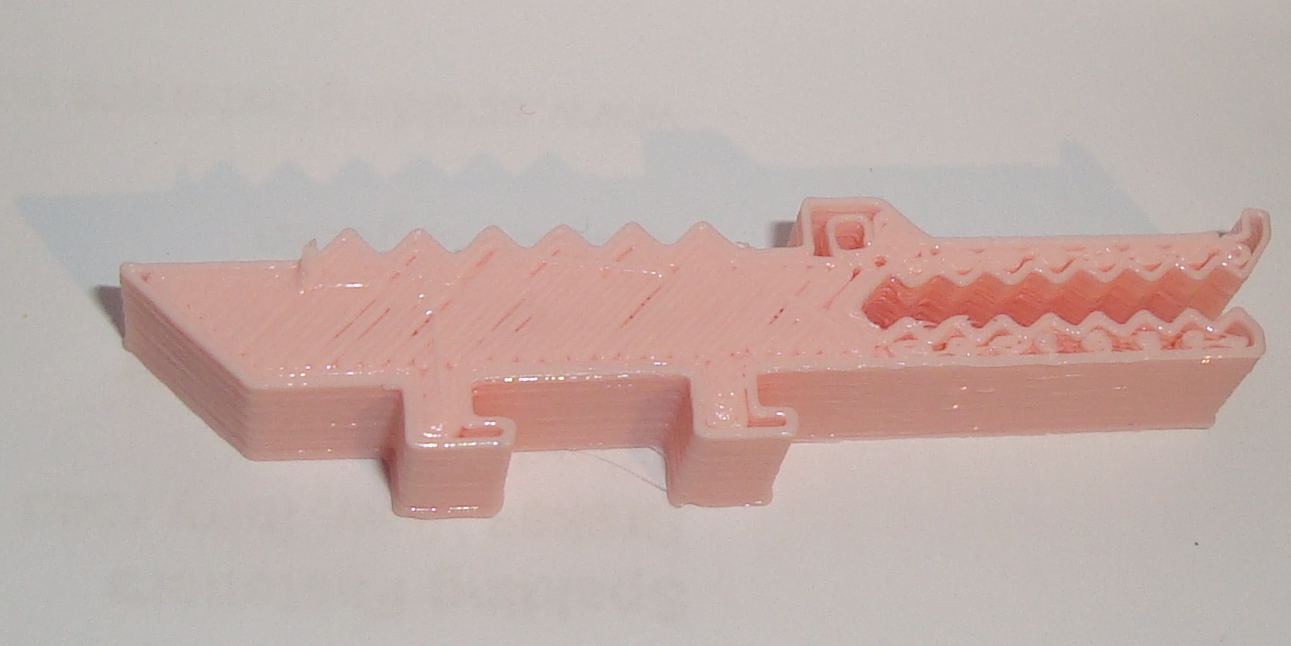
Now I have to actually think about what I’m going to use this printer for. I’m sure my lovely boys will have some ideas.